FLORALS IN WATERCOLOR BATIK
$79.00
- Artist – Laura McElresh
- 3+ Hours of content
- Lifetime Access/Downloadable Content
- Private FB Community
- Course Price – $79
- All Sales Final
Description
Do You Like Painting in Watercolor? Love Texture? Are You Interested in Exploring a Technique that Will Challenge and Inspire You?
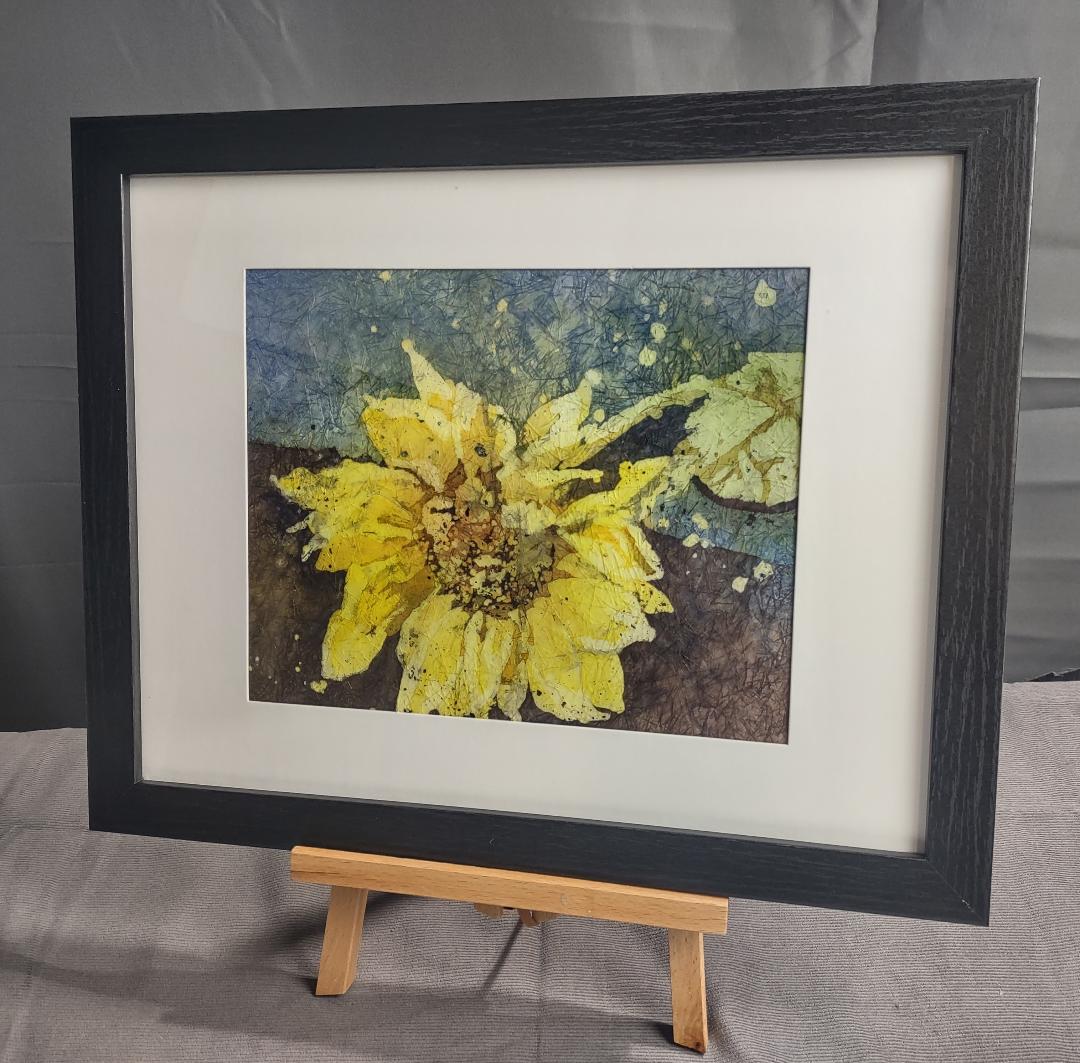
Are you looking for something completely different that will challenge and inspire you? Do you like painting in watercolor? Or love texture? Join Laura McElresh in FLORALS IN WATERCOLOR BATIK, where you will explore the world of watercolor batik on rice paper. We will create beautiful florals all while learning the basic techniques needed to get started in this style of painting. This course has two main lessons in which you will create a beautiful, red poppy painting, and also a warm, sunflower piece. By the end of this class, you will have the materials and skills needed to complete watercolor batik artwork on your own.

COURSE OBJECTIVES
By the end of this course students will have an understanding of the following concepts:
- Rice paper - different types, how it is different from other papers, and how to use it in watercolor batik.
- Manipulate and use watercolor pigment on rice paper.
- Identify values and shapes in florals and work in layers light to dark using hot wax to reserve the lightest areas and complete a finished floral painting.
- Use hot wax to add details to a batik painting, and the layered process of watercolor batik on rice paper.
- Remove wax from a finished painting, finish and frame or display a piece.
CLASS IS OPEN - SELF-STUDY
Lifetime Access - Download All Content
Cost - $79
DESCRIPTION OF LESSONS
This course will begin with a little warm up to get you acquainted with rice paper! In this lesson, we will experiment with rice paper and watercolor paint to create swatches. This will help you to learn about the viscosity of paint and how it affects and works with rice paper. This will help to prepare you for our first painting lesson. In this lesson, you will use what you learned in the warm up to produce a painting of red poppies.


In our final lessons, we will be adding wax to our painting experience. Lesson 3, you will create a new painting of watercolor poppies on rice paper with wax. This is intended as a simple introduction to the process of watercolor batik. After that, we will move on to create a painting of a watercolor sunflower on rice paper with wax. This will be a painting that is more advanced and has more layers. The final lesson will teach you the process of removing wax from a painting. This is the final step in all of the paintings where wax has been used.


CLASS IS OPEN - SELF-STUDY
Lifetime Access - Download All Content
Cost - $79
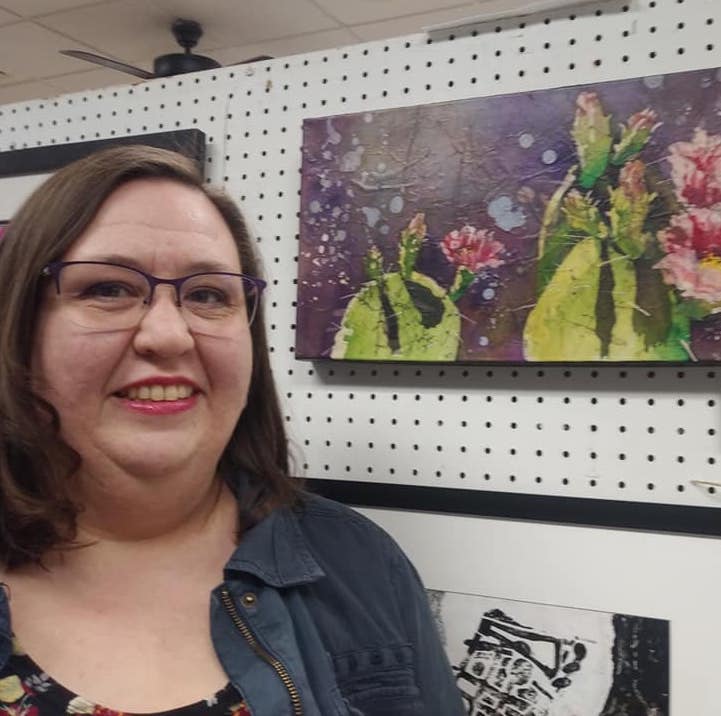
MEET LAURA McELFRESH - ARTIST/INSTRUCTOR

I love creating. I have always been focused on growth, change and creation. As a child I loved to garden and carefully observing the changes of the seasons. I loved the brisk fall air and the change of colors as green turned into vibrant yellows and found beauty in the shapes and shadows created by the winter trees and snow drifts. As the seasons changed I knew that there was always a next incarnation around the corner. Just like in life- a new stage awaits!
I began painting at an early age in my Grandmothers studio while visiting during summer break. In grade school I took an after-school Batik class. Through Junior High and High School, I took every available art class and particularly loved the chaotic medium of watercolor. In a watercolor class I learned that it was possible to do the Batik Process on rice paper. The Batik process is centuries old and traditionally done on fabric with dyes and hot wax. This was a pivotal moment for me.
The Batik process includes several key steps: I begin with a beautiful piece of handmade rice paper; vibrant pigment is painted onto the fine paper. I alternate applying layers of paint and hot melted opaque wax to the paper. The hot wax is unforgiving, and resists the paint.
My painting evolves with many layers of melted wax and paint until the final steps when the I crumple and mash the wax coated paper to create fissures and cracks. There is a lack of control, but I’ve learned to trust the process. I coat the surface with inky black watercolor paint. The black paint seeps into the wax fissures creating interesting texture and wrinkles unlike any other method. I see this as a perfect metaphor for the hardships we all endure, the broken places in our lives make us who we are. Finally, a hot iron melts away the wax, revealing the brilliant colors and imagery.
Looking forward, I will continue to use this timeless technique to further explore my favorite subjects and themes of change, and connection.
PRIVATE GROUP JUST FOR YOU!
This course will have a private Facebook group just for you! The artist will be actively involved with the class via Facebook the first four weeks the course is open! After that the course will be a self-study. The artist may or may not be involved after the four weeks. We are looking forward to seeing your artwork!
COURSE SUPPLIES
Below is a list of the supplies that I will be using for the projects in this course. However, you are always encouraged to use what you have on hand.
Basic Art Supplies
Substrates
Rice Paper comes in hundreds of different varieties and sizes and kinds. For what we are doing I’ve narrowed it down to four types of paper I think you will have the most success with. You will want to get at least one large sheet of paper. (Or enough to make 4-6 11 x 14 paintings.) Any of the following kinds will work.
- Masa- This is a student grade paper traditionally used for printmaking or calligraphy. Beautiful, sturdy and has some more sizing than some of the other papers so it’s easy to use. It is the most inexpensive paper.
- Mulberry – Mulberry paper is kind of a catchall term for rice paper. It comes in many, many weights and both natural or white and even colors. I like to use one that is about 45gsm. White or Natural. It should not crack or break when you bend it gently. It needs to be thin enough to tolerate the process of what we are doing but not so thin that it looks like tissue paper.
- Kinwashi or Ginwashi - This is a sturdy, strong, but flexible paper. It has lots of beautiful fibers and texture in it. It is the most expensive paper I’ve recommended.
Rice paper comes in all weights. For our purposes we want to try to find something between 25- 45 gsm. (Grams per square meter) Do not buy “tissue weight” paper as it will be too fine for what we want.
Basic Watercolor Supplies
Paints
Watercolor Paints
If you are buying new watercolors, buying a small set of paints is a good way to go as you will get colors that mix well. Quantity is not important, Quality is better. If you have a set of professional grade watercolors it’s fine to use that. You would only need to buy one tube of black paint and have some container for that in addition to whatever you are using for a palette.
*** Brands I love and use include but are not limited to: QOR- by Golden, Windsor and Newton- (not the Cotman line), Daniel Smith, Holbien, M.Graham. I also like the lower priced Van Gogh line of tube paint. American Journey brand from Cheap Joes Online works well too.
- Basic Colors you will need are:
- Yellow
- Red
- Blue
- Brown (Burnt Sienna or Quinachrodone Burnt Orange)
- A small tube of Mars or Lunar Black paint
If I could only buy 6 tubes of paint it would be cadmium yellow, cadmium red, ultramarine blue, Prussian blue, a violet like dioxazine purple, and a dark brown like quinacridone burnt orange or burnt sienna. Other colors I love on my palette are sap green or green gold, and a raw sienna or yellow ochre color, and phthalo turquoise .
For the final steps of the painting you will want a tube of black watercolor paint. Mars Black or Lunar Black are both good choices in most any maker. If you have black on your palette I recommend buying a tube separately as this is used in the final step of the process and putting it into a separate dish is helpful to avoid getting wax into your regular palette. This gets MESSY!
Watercolor Pencils, or other Water-soluble tools are nice to have but
optional. Inktense, Derwent and Lyra make some really great pencils.
Paintbrushes
- Soft Watercolor Brushes
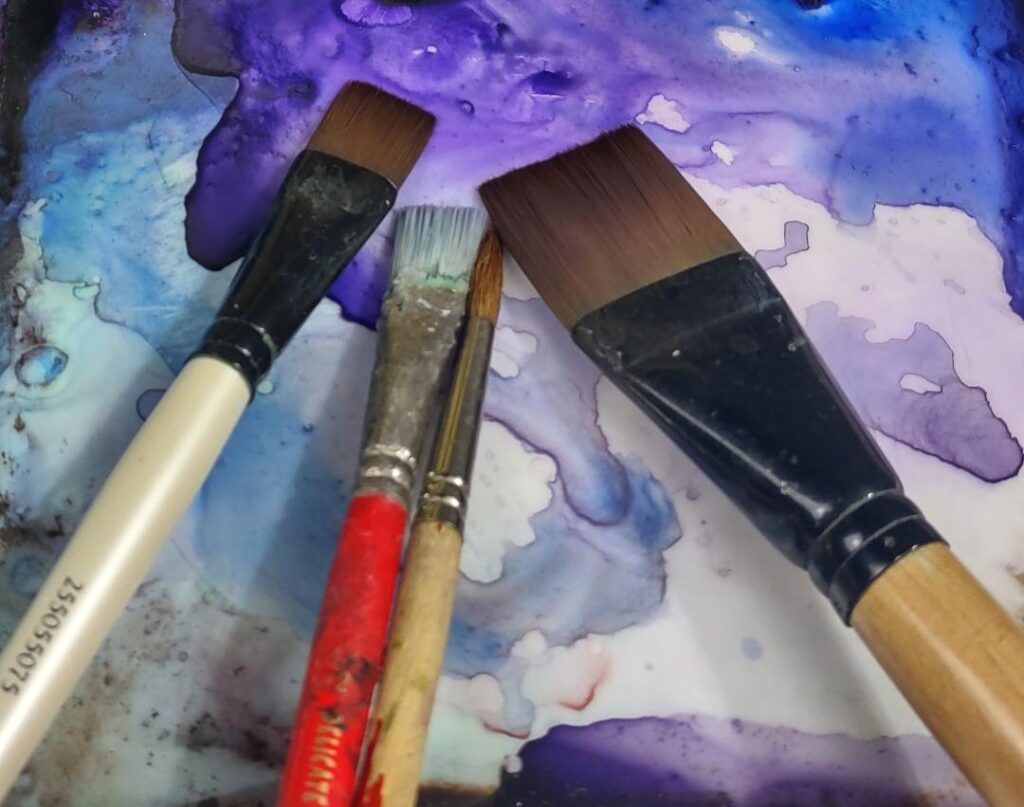
For the watercolor portion of the process you will want a basic set of watercolor brushes. Nothing fancy is needed. I like the Princeton Set of Basic Taklon brushes. Three or four brushes is all you need. I use a 1 inch flat and a smaller ½ inch flat brush almost exclusively. If you prefer to paint with rounds – that is fine too. You won’t need more than just one or two smaller detail brushes in the watercolor step because as you will see painting detail on rice paper is … not really a thing. Look for soft absorbent fibers. Synthetics are nice both for ethical reasons and they tend to be more durable. Coarse brushes like hog will tear your paper. If you have acrylic brushes those should work—just pick out your softer ones.
**Please if you have expensive sable or other watercolor brushes put them away for this! The rough paper will tear them up or worse yet dipping them \ in hot wax would ruin them.
- One Paddle Brush, or Big Hake or “Chip” Brush
About 2 ½ inches wide
*This is for applying the black paint to the painting. Don’t spend much we are not being nice to this brush.
- Water container
*for safety reasons please don’t reuse a paint cup for food
You will need one. Old recycled glass jar, old mason jar, Old yogurt tubs or cottage cheese containers are good too.
Other
- Palette - You can use what is included in your set or an old plastic lid or pie pan. Or you can buy a nice palette. There are thousands to choose from.
Tools for the Wax Process
For the wax part of the process, you will need the wax, a way to melt it, and some tools to apply it to the paper.
Wax
You should need no more than one pound of wax total. Batik wax or Gulf Wax is fine.
- Batik Wax is a specialty blend of paraffin and beeswax. It comes
prepackaged in a tin container ready to heat and use. Batik wax works very well and I think most people will like it for what we are doing. It runs less than straight paraffin when it’s hot. You can mix your own with roughly three parts paraffin to one part beeswax. Or you can buy the premixed batik wax. - Gulf Wax Gulf brand paraffin wax is what I normally use. It’s a canning wax used for all kinds of things and it’s available in most grocery stores and Wal Mart or Ace Hardware with the canning jars. You want food quality canning paraffin not candle wax. (Candle wax may have additives or scents and isn’t quite as good for what we are doing.)
A Way to Melt the Wax
You will need some way to melt your wax. Pick One! Options include:
I use a small crockpot with no heat controls. It’s the kind that’s used for appetizers without a temperature control. This is my favorite way of heating wax. It keeps the temperature at a regular low temp without needing any babysitting. Thrift Stores can be a great place to find these. Walmart, Target and most places carry them and you can buy them new or use one you already have. **** warning: once you use it for wax you likely won’t be able to use it again for food.
- Electric skillet
You can use an old one, buy a dedicated one or get a thrifted one. Big or little it will work. If you get a big one you will want some sort of metal container or pan to use to heat the wax and they make encaustic pans for that. Or you can use an old tin can or other metal container. You can line a regular electric skillet with aluminum foil to protect it from the wax and could potentially use it again for food provided no wax gets on the cooking surface. You want to make sure it has a temperature control dial to keep the temp around 200 degrees. Anything hotter is too hot and then the wax can become flammable.
- Encaustic Heated Palette
The third and most expensive option is an encaustic heated pallet and pans. If you are interested in doing encaustic it might be a good investment – or if you already have one... by all means use it.
Wax Tools and Brushes
- Brushes for Wax
You will need a few brushes to use with the wax. Again- please nothing fancy but keep in mind – once they are used for wax that is all you will use them for. Fiber content of the brushes is important because many synthetics will melt and fray the bristles in the heat of the wax. Look for:
- Nylon
- Golden Taklon
- White Taklon
- Goat Hair*
- Boar Bristle*
** Natural fibers may be more expensive. I prefer short handles because I like to have the control over tools that will be used with a hot medium and the handles are less likely catch on sleeves etc as I’m working or tip out of my crockpot.
*Brushes with “synthetic fibers” may melt and fray in the wax making them hard to use.
Sizes you will need
- Rigger brush
- A small round for details
- Flat or round brushes – nothing bigger than a 2 inch flat.
- One large 2 ½ inch or 3 inch wide flat hake or chip brush
** Keep in mind these brushes will be dipped in hot wax and be wax only brushes after this.
An optional item you may want to have – any regular cooking thermometer would work. You want the wax to be around 170 degrees to 200 degrees ideally.
Extra Items From Home You Will Want
- Paper Towels
- A stack of old newspapers or newsprint paper
- About 3 or 4 inch tall stack of paper- remove any glossy inserts
- An old Iron (thrifted or cheap)
- Freezer Paper or Wax Paper
- Found in the paper products sections of Wal-Mart and Grocery Stores with the aluminum foil
and saran wrap. **Freezer Paper is preferred.
- Found in the paper products sections of Wal-Mart and Grocery Stores with the aluminum foil
- An Old Knife to cut the Gulf Wax if that is what you are
using and board or surface to cut the wax on. - A Smooth Board Cut into 12x14 inches
- A piece of chipboard, foam core, smooth cardboard or matboard about 3 or 4 inches bigger than your painting size. Cut to size. Approx 12 x14 inches.
- Blue Painters Tape and Masking Tape
- Ruler and Scissors to Cut Paper
- An Apron or Painting Clothes
- A way to protect your work table
- Nitrile or Latex Disposable Gloves
- Optional but it gets messy!
- Spray Bottle for plain water
IMPORTANT INFORMATION ON ACCESSING CLASSES AND SELLING WORK CREATED IN THIS COURSE:
**Upon purchasing your course, you will be asked to create an account and go through the purchase process (even if the cost is $0 for a free course). If you have already created an account, after purchase your course will IMMEDIATELY be available under “LOGIN” at the top right-hand of karabullockart.com.
**If your course does not show up, please email us at karabullockart@gmail.com
**Due to the nature of the immediate availability of the course, all purchases are nonrefundable.
**Please talk to the artist of the course about his/her policy on selling artwork created in this course prior to selling any works created during course. Some artists will allow it, while others do not. Thank you for your support.


Reviews
There are no reviews yet.